Project Kronos
Date Published: 08/06/2023
This project was started around October of 2022. I started this project becuase I wanted to create an aircraft that can create topographical maps. In the past, all my projects were land based and I wanted to work on a project that flies. This is because it is more of an engineering challenge. I spent around nine months developing the drone. The majority of the work was completed at Purdue University.
This project was split into 4 distinct phases. The first was planning and budgeting, then design and analysis, manufacturing and assembly, testing and flight. The first phase started in October of 2022. I had always wanted to work on an engineering project that could travel via air. I ended up with building a quadcopter because it had many different software paths I could take. For instance, a quadcopter has good maneuverability and can vertically take off. Since I wanted to create 3d scans with this vehicle, a quadcopter made sense.

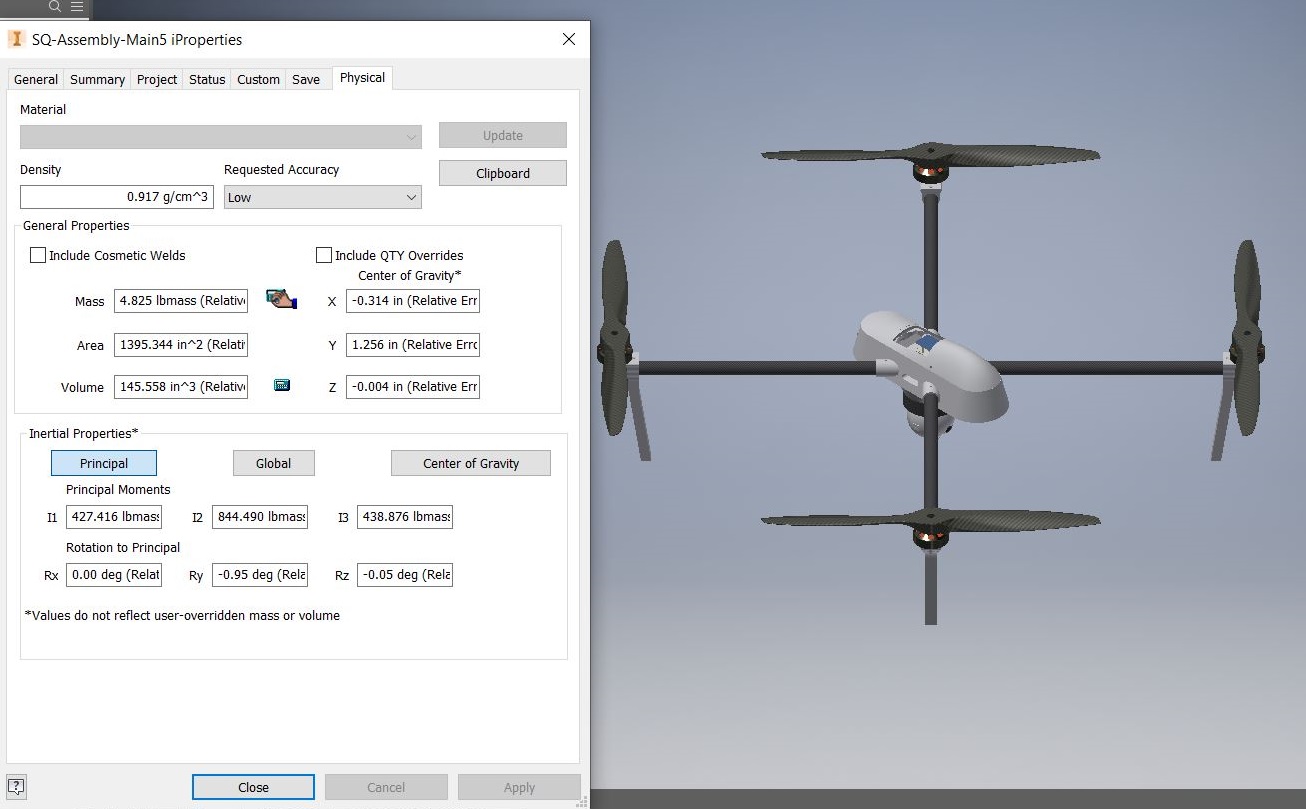
I spent several months creating different drawings of my vehicle. I ended up creating a drawing of an X frame design with four removable struts. I created drawings around my critera and constraints. I wanted the quadcopter to be modular but rigid. This led me to choosing carbon fiber struts and 3d printed frame components. I used Autodesk Inventor to design the aircraft and Solidworks FEA for stress analysis. It took some time to validate the designs to ensure the weight was optimal and the frame could withstand the simulated loads.

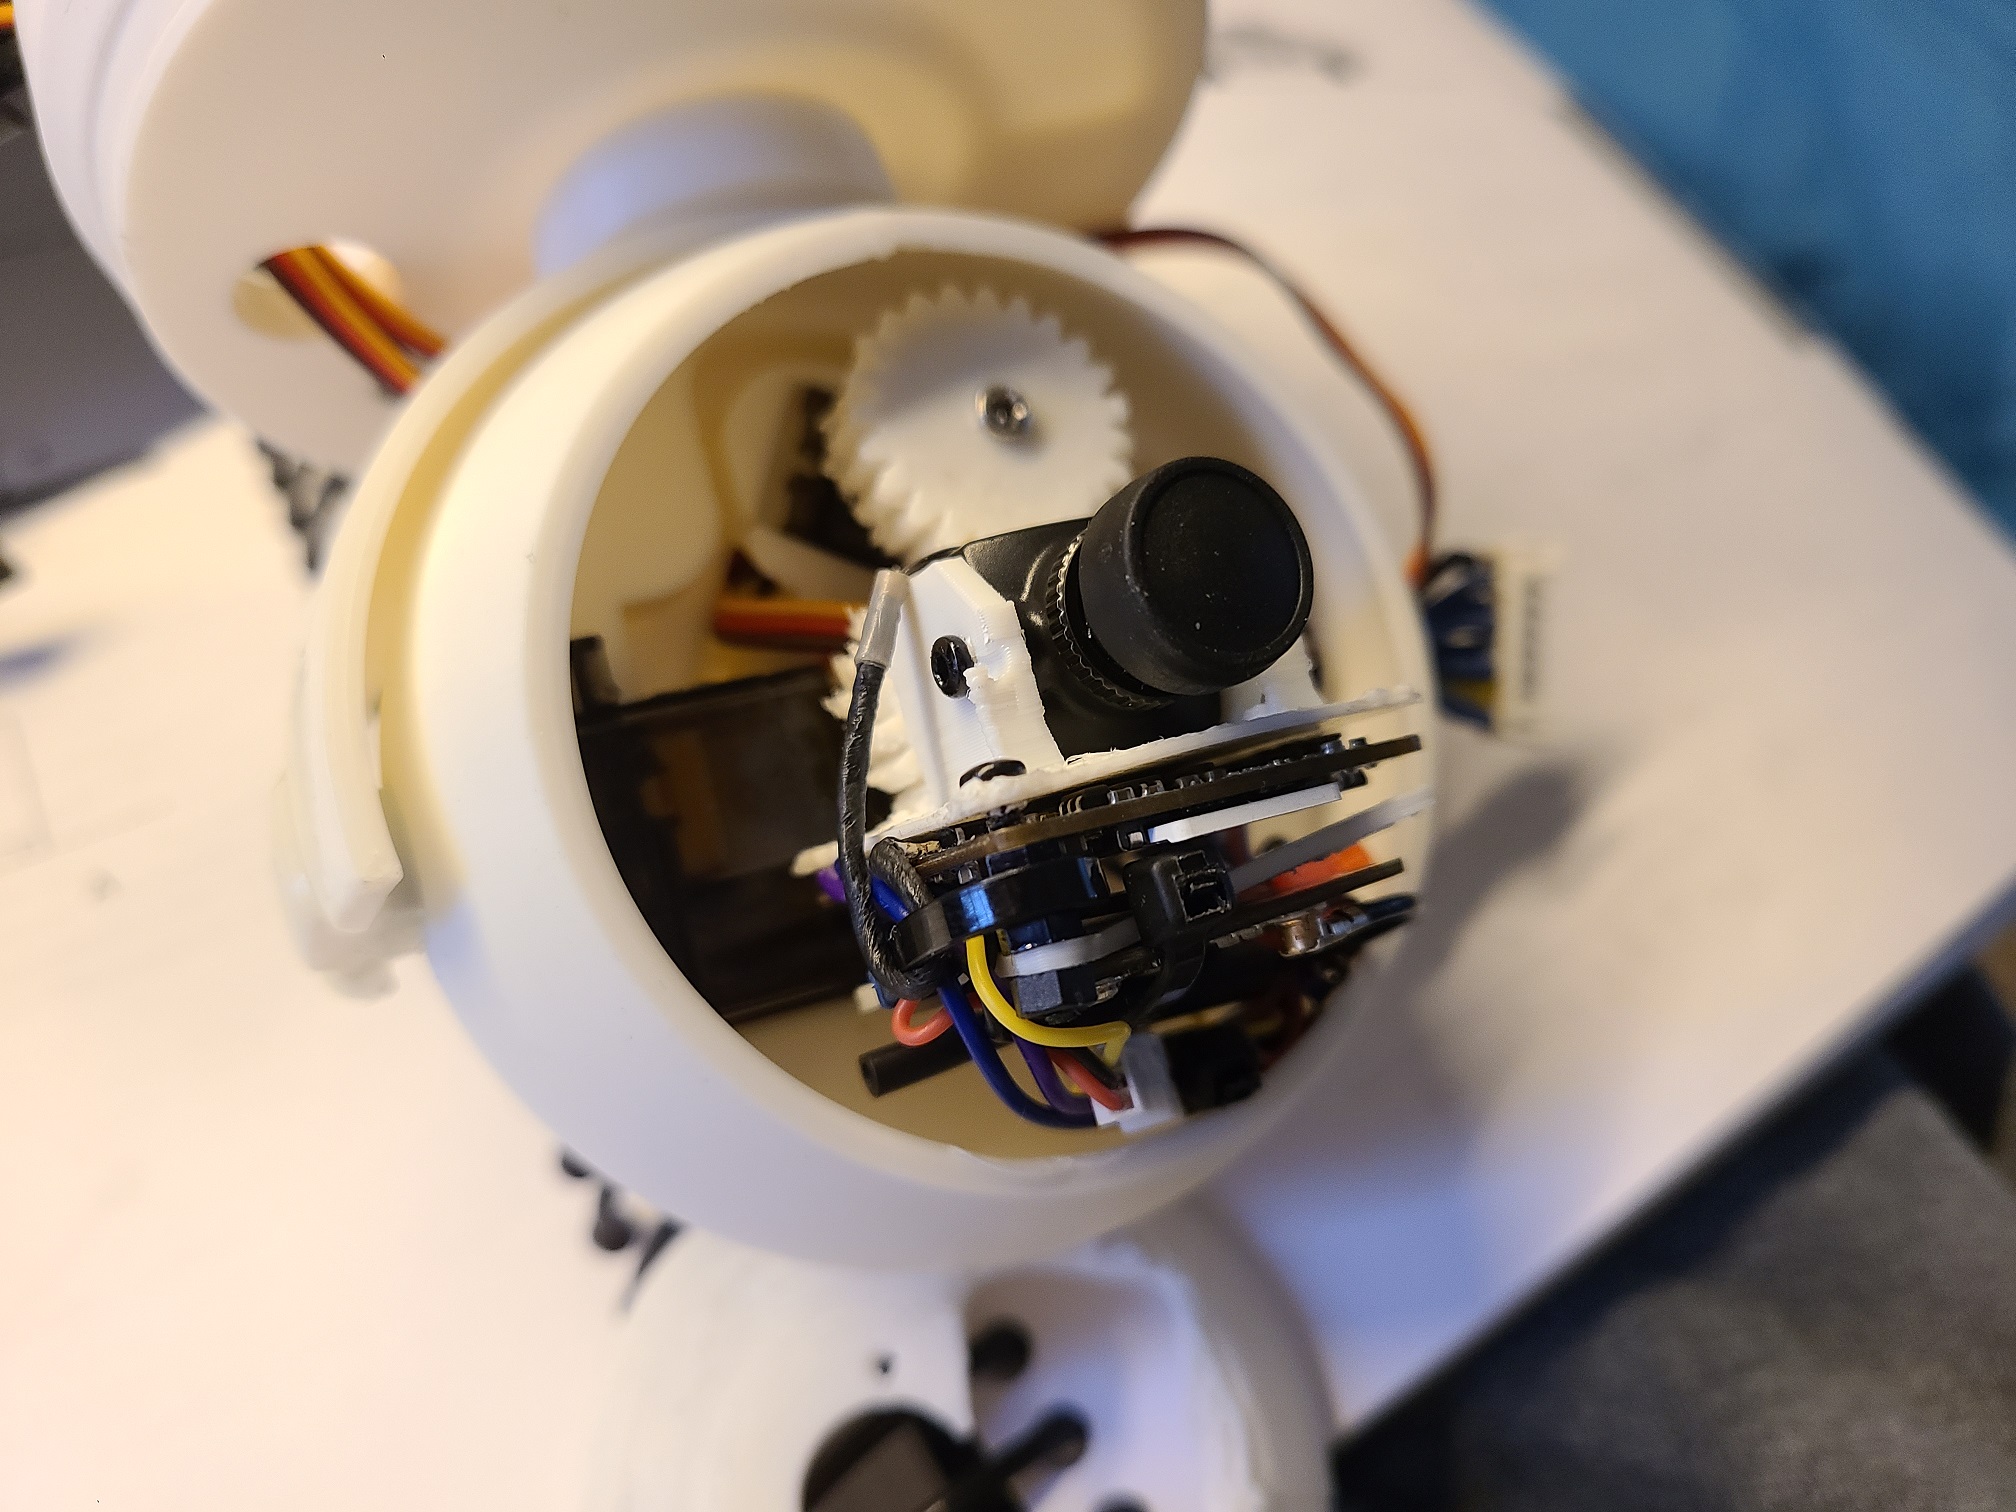
To enable the scanning feature of my drone, I first had to design a gimbal.
I decided to use tiny metal geared servos to control all axis of the camera.
The final mount is shown to the right. One issue that was presented to me
was the routing of the wires. In the design phase, I was struggling to route
the wires in such a small cavity. The other issue was ensuring that the wires
don't get tangled in the gimbal mechanism when the servos are active.
After
completing research into diffferent mechanisms, I ended up choosing a slip ring
type mechanism. However, rather than buying one, I simply routed the wires on
one of the gimbal axis to reduce the strain of the wires as much as possible.

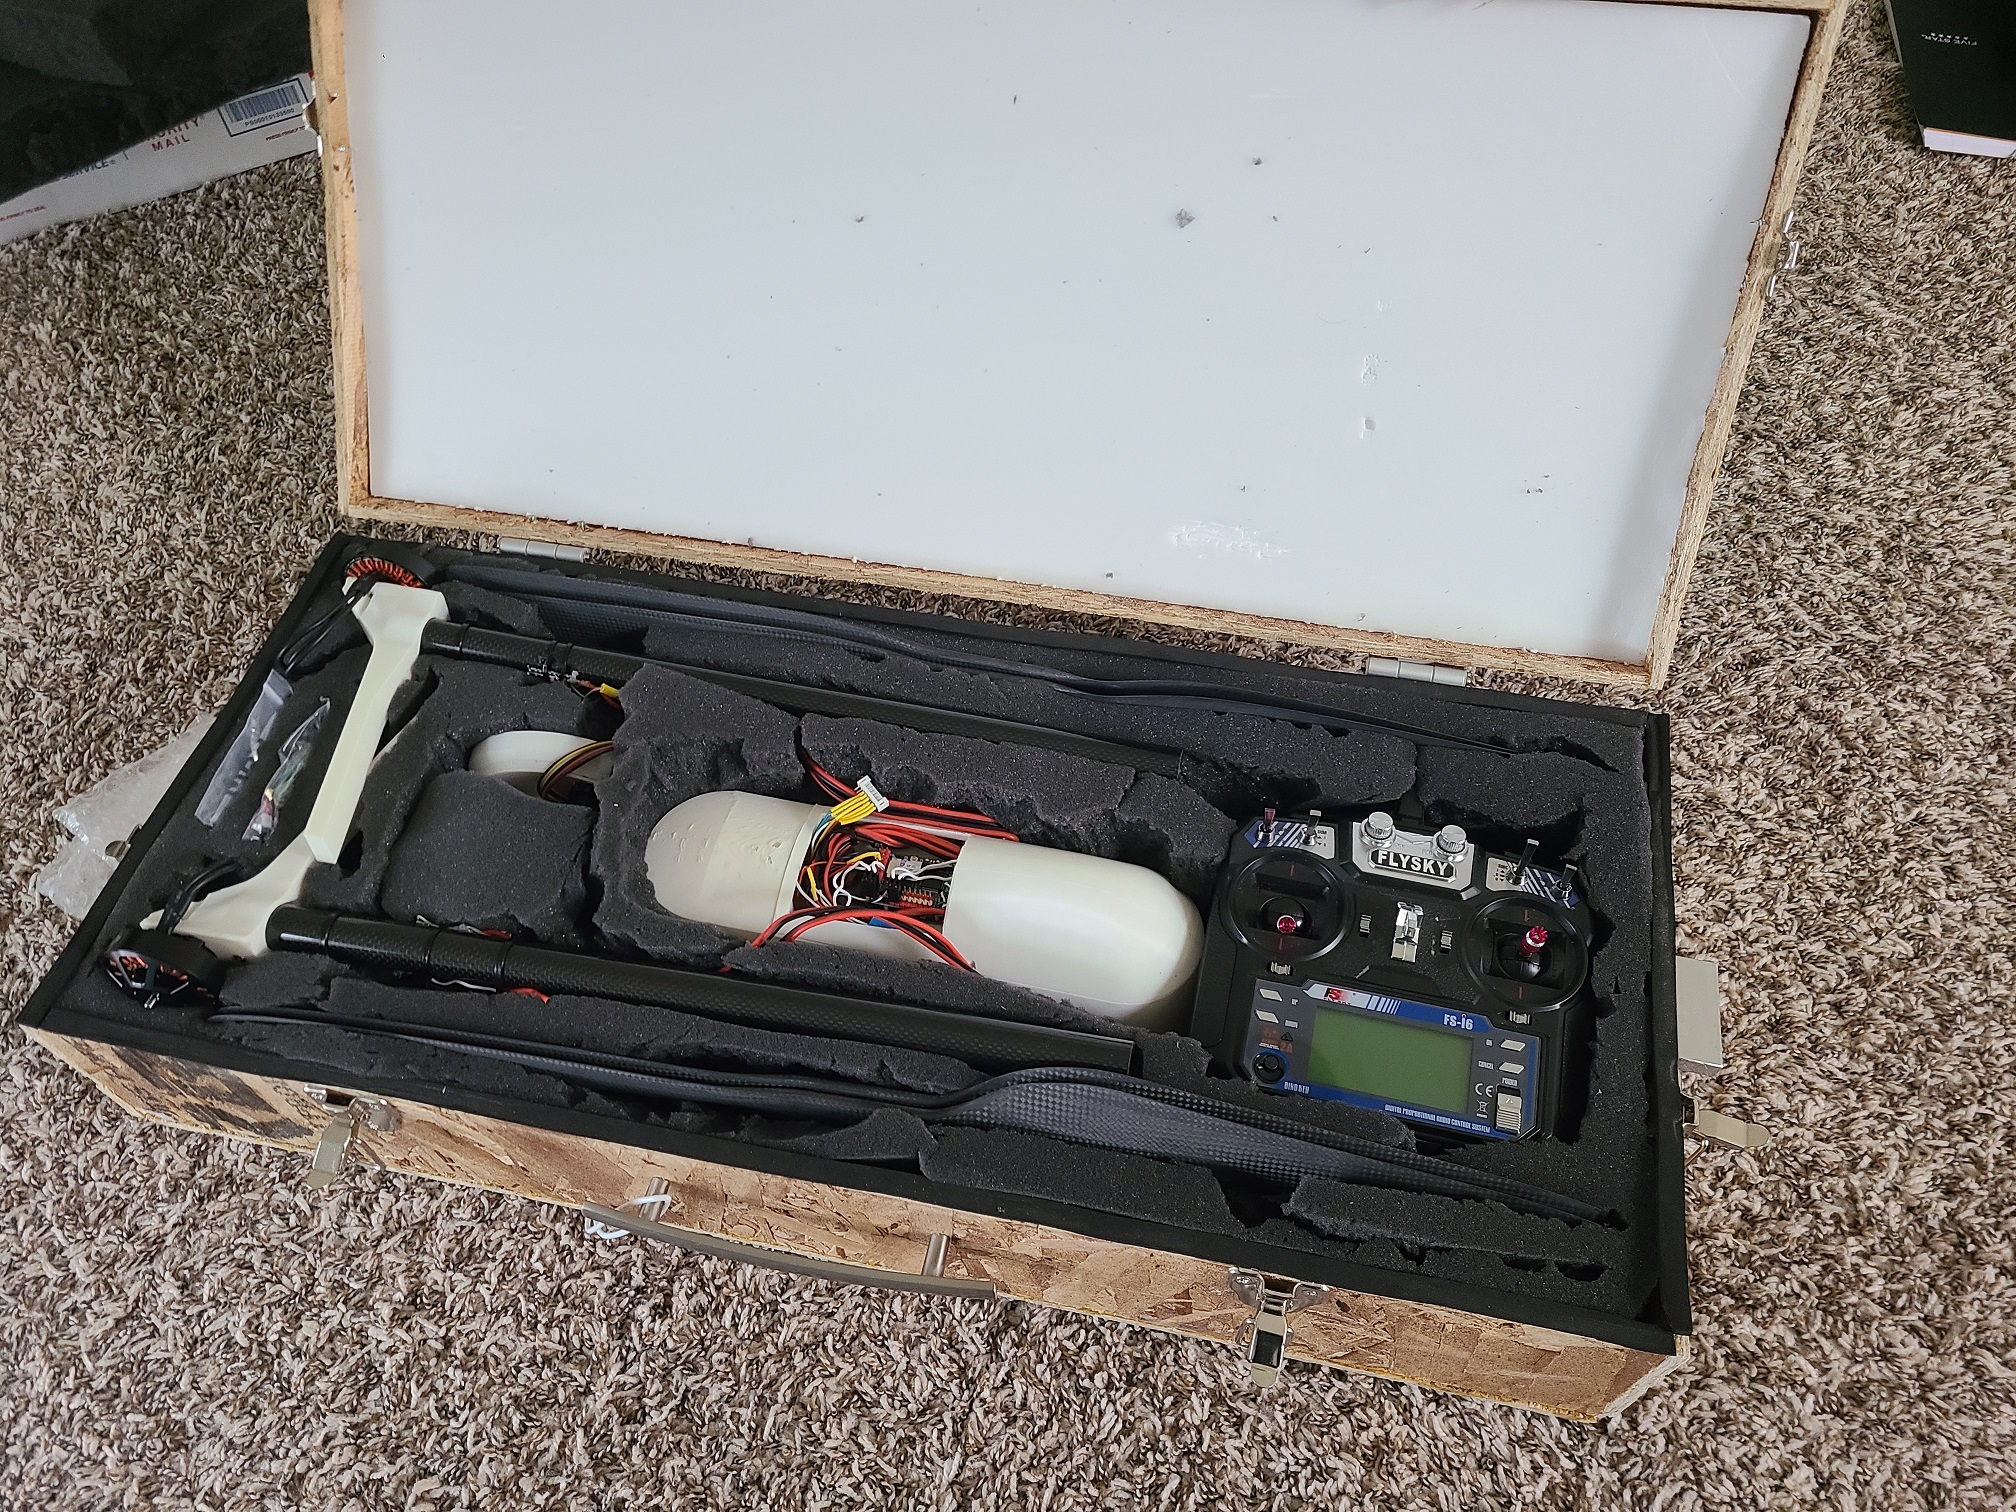
Before purchasing the required motors and components, I did some hand calculations to ensure that the selected components would produce enough thrust to lift the weight of the aircraft. I also summed the current expected current draw to ensure that the quadcopter had a runtime of over 30 minutes. The runtime was another criteria of mine. After the design and analysis completed, I manufactured many of the components using a 3d printer. I assembled the drone and even built a drone box from scrap wood to move my drone around. I even ended up taking this box on the airplane with me when I was out traveling! The onboard flight controller was flashed with ardupilot and I had to do significant research to get the settings perfected on the ground control station. I was able to successfuly execute the first autopilot flight in June of 2023. This project was a success in my book and I learned so many new things. There is so much information that I wasn't able to fit on this page about this project. If you had additional thoughts, I am happy to talk.